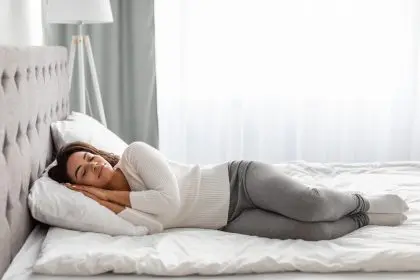
Why at-home facials matter
According to Nichelle Temple, an esthetician and founder of Inderma Studio, DIY facials are incredibly beneficial. While your esthetician may see you once a month, you can care for your skin daily. Setting aside time each week for a DIY facial can be a game changer for your skin care routine.
How to give yourself an at-home facial
Follow these steps to create a luxurious at-home facial that rivals professional treatments:
Step 1: Double cleanse
Start with a double cleansing method. Use a cleansing oil or balm to remove makeup and impurities, followed by a water-based cleanser. This thorough cleansing process preps your skin for the subsequent steps.
Step 2: Exfoliate
Exfoliation is crucial for removing dead skin cells and revealing a fresh layer of skin. You can choose between chemical exfoliants — like those containing AHAs or BHAs — or mechanical exfoliants, a.k.a. scrubs. For sensitive skin, consider a gentle exfoliating cleanser.
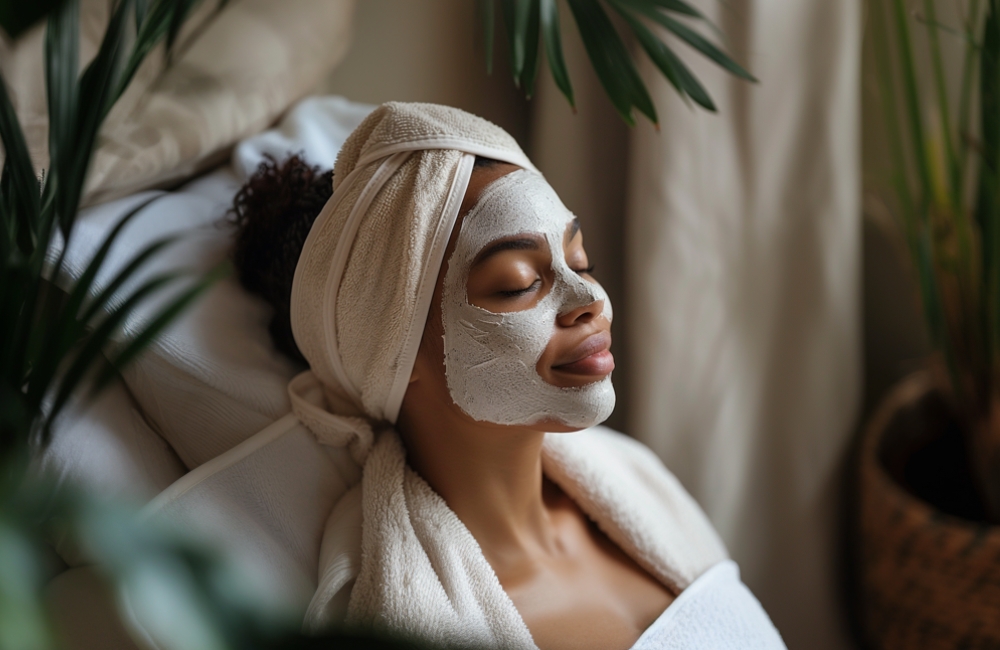
Step 3: Apply a face mask
Choose a face mask that targets your specific skin concerns. For oily skin, opt for clay masks, while hydrating masks are ideal for dry skin. Use this time to relax — sip tea or take a warm bath while the mask works its magic.
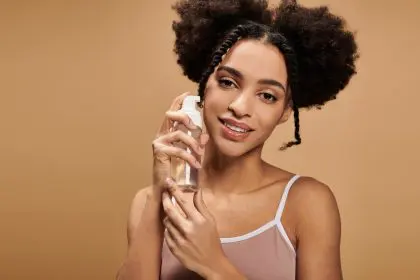
Step 4: Steam the face
Steaming can enhance your facial experience by opening up pores and allowing products to penetrate better. You can use a facial steamer or simply hold your face over a bowl of hot water.
Step 5: Use facial tools and treatments
After rinsing off your mask, consider using facial devices like LED masks or microcurrent devices. These tools can help reduce inflammation and promote collagen production.
Step 6: Apply targeted serums
Now is the time to apply your favorite serums. Layer them from lightest to heaviest for optimal absorption. You can also use a sheet mask to boost hydration.
Step 7: Moisturize and massage
Finish your facial with a rich moisturizer. Look for products containing lipids and ceramides to nourish your skin. Consider incorporating a facial massage to enhance circulation and relaxation.
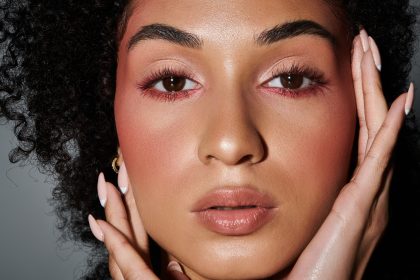
What to avoid during an at-home facial
While at-home facials can be beneficial, there are certain practices to avoid:
- Dermaplaning and microneedling: These should be left to professionals to prevent injury.
- Extractions: Avoid popping pimples, as this can lead to scarring. Instead, use pimple patches.
- Chemical peels: Professional-strength peels can cause severe burns and discoloration. Stick to low-concentration products.
At-home facials can be a rewarding addition to your skin care routine, providing a chance to pamper yourself while addressing specific skin concerns. By following these steps and avoiding common pitfalls, you can achieve glowing, healthy skin without stepping foot in a salon.